


Now that all companions in Starfield have been returned to Constellation, Walter has a mission for the player that involves some tactical and corporate espionage. It’s a fun main mission in Starfield and will help show the player that perhaps the stars and the exploration of a vast galaxy are somehow far less complex than meddling in corporations and the politics that bind their CEOs in dangerous affairs.
In All That Money Can Buy, players will be tasked with joining Walter on a mission to Neon, one that will see them broker a deal for a piece of the Artifact, and attempt to free themselves from the corporate shackles of a competitor. There are strong Cyberpunk vibes from this mission, which makes it a true standout.
Talk To Walter
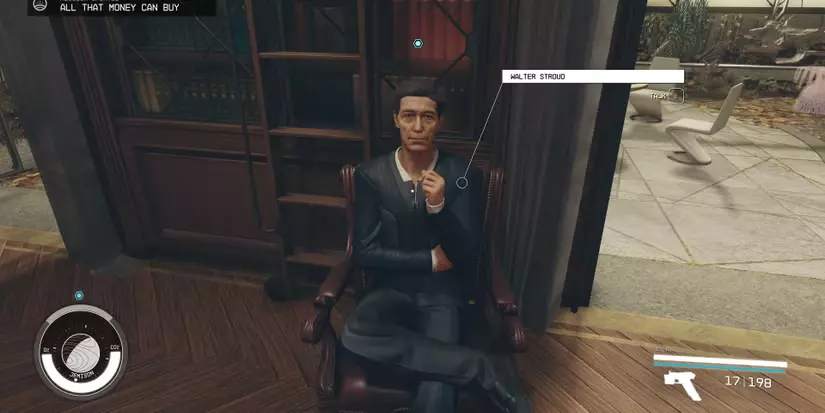
In The Lodge, Walter will ask to speak to the player about a quick and easy job he has for them to do. He will ask them to head with him to the Volii system to Neon City located on Volii Alpha. Once players are ready, they can invite Walter onboard their spaceship, and head to Neon, a vibrant and dangerous city, filled with corporate greed, corruption, and a lightning cloud that produces all the power that they need to keep the city functioning.
Once on Neon, players will want to talk to Walter again, in which he gives the request to head into the city and venture towards the Stroud-Ekland Headquarters, and to find his partner to further his goals of finding this Artifact and locating the seller.
Talk To Issa Eklund
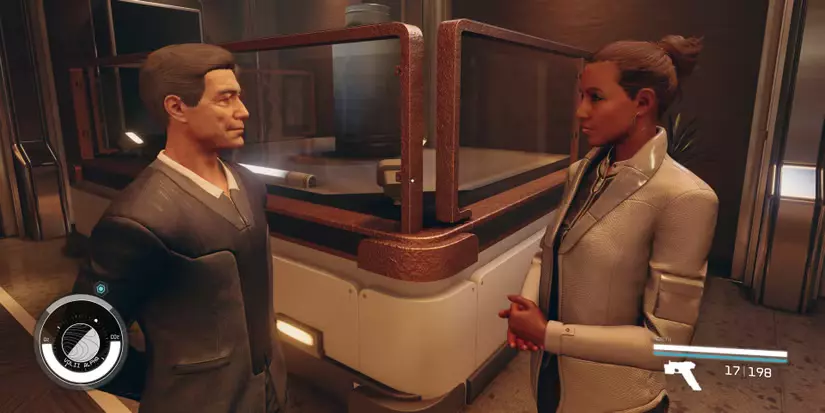
As players make their way to Stroud-Ekland Headquarters, they will quickly catch on to the fact that the combining of names for the companies isn’t just to maximize profits, but because Issa and Walter are married. It’s fun to discover Walter’s married life, and the beautiful chemistry between the two characters, and how they care for each other in a world that mixes corporate leverage, power, and pleasure with a flirtatious game.
Issa provides the player with some useful information about where they need to head next, and it will lead them down to two leads that need following up on. The first is to head to the Astral Lounge, and the second is to ask around and find some dirt on the anonymous seller.
Head To The Astral Lounge

In the Trade Tower, players will want to head up to the Astral Lounge, skipping past the dancers and civilians in order to reach the bar at the end of the club. From here, they are going to want to speak to the bartender, Boone Morgan, who will be able to help players as they set up a meeting. Players should tell Boone Morgan that they are worried about security, and they can influence Boon to up the security in favor of the buyers if they give him the VIP fee of 4,000 Credits.
Investigate The Client
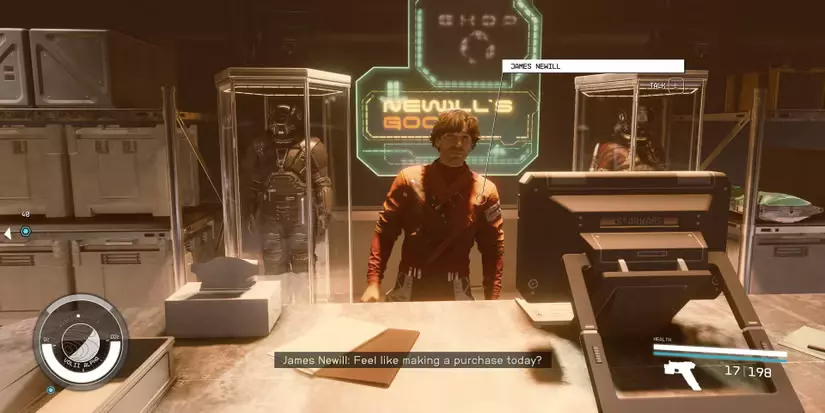
Leaving the Astral Lounge, players will want to head downtown in Neon to Newill’s Goods. Here, it’s best to question James Newill about the meeting that he put in place, in the hopes that he has a lead on the seller. Payment for his information will cost 2,500 Credits, but players can use their words to try and Persuade James to tell them what he knows which will send them to Ebbside’s Sleepcrate One.
With a Novice Digipick skill at hand, players can access the Sleepcrate One, which is the empty home of the seller. Accessing the computer to read the Personal Correspondence Emails will reveal that the seller is desperate for Credits, and needs said money fast, making them vulnerable to leverage within Walter and the player’s hands for this deal.
Return To Walter
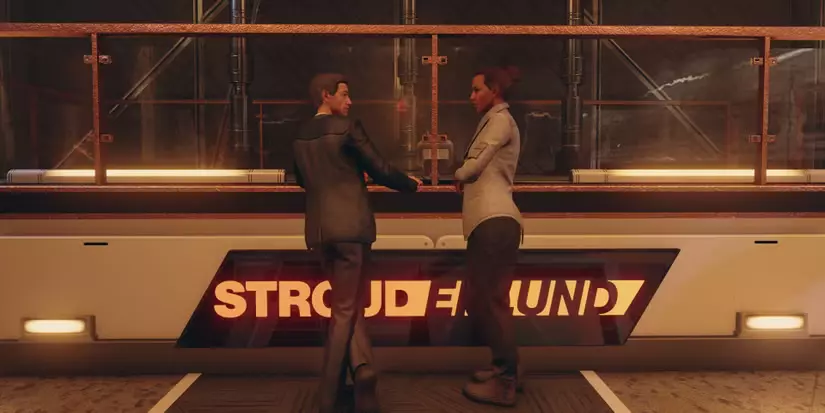
When players make their way back to Stroud-Ekland Headquarters, they will have to wait whilst Walter and Issa have an intimate moment. Their conversation is adorable, and their cuteness shows as they present their care and love for each other. Interrupting, players can provide Walter with their findings, and Walter will tell the player that it’s time to head to the Astral Lounge.
Find The Seller At Astral Lounge
Once inside the Astral Lounge with Walter, players will need to locate the mysterious seller by uttering the phrase “Ramsay and Travers”. To find the seller in All That Money Can Buy, players should head to the bar where they spoke to Boone Morgan. To the right, is Musgrove, a man who is standing against the wall with his arms folded. Saying the phrase “I’m with Ramsay and Travers” will confirm that he is the seller, and he will walk to the VIP Lounge elevator to begin the deal.
Start The Meeting
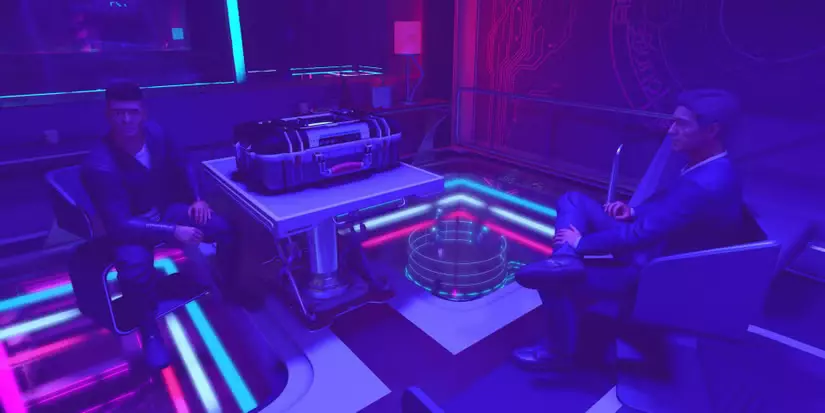
Entering the room that players hacked earlier, the seller and Walter will be waiting. Players should sit for this deal, but it doesn’t matter either way. Sitting just makes things feel relaxed for a deal of this size. There are a few ways to conclude the deal:
- Grab the Artifact: Players can kill the seller, which is unwise considering security will attack, and the club will go into full panic and chaos. Players can also use security as a VIP member to strongarm the seller into giving up the Artifact at no cost.
- Close the Security Door: Hacking the security door will scare Musgrove, and threatening him further with security will make him give up the Artifact, seeing that he gets not a single Credit for this potential sale.
- Leverage: Players can use the fact that they know he is desperate to sell the item for Credits to their advantage, and get the seller to negotiate back down to his original asking fee, rather than double. It doesn’t matter either way, as this is Walter’s pocket, and not the player’s.
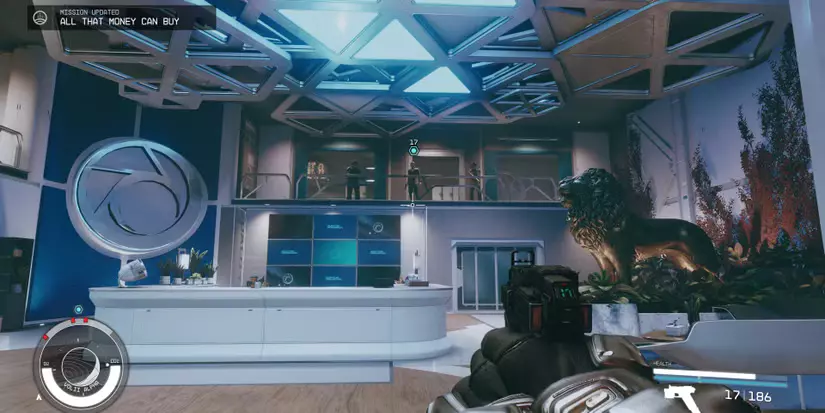
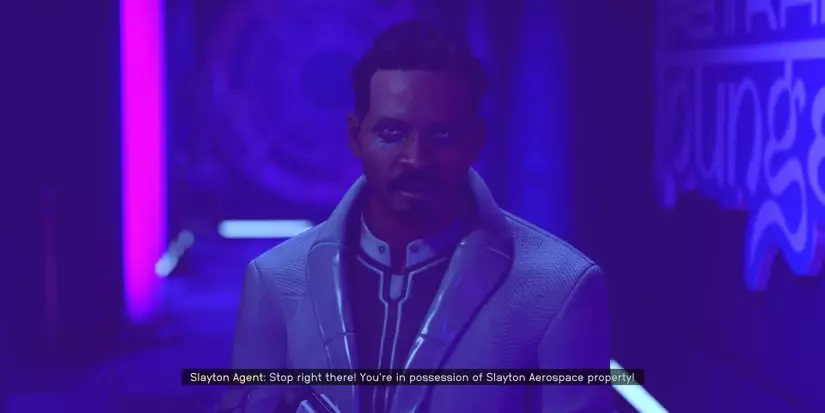
Deal With The Slayton Agent
Attack: If players attack the Slayton Agent, chaos ensues, and the Astral Lounge will not be a fun place for those who just want to dance. It’s best to avoid a direct attack.
Persuade: Players can use their words to try and diffuse the situation. If successful, the Slayton Agent will back down and leave, but send a warning that he won’t be the last.
Signal Neon Security: As a VIP member, players can use the Signal Neon Security to disarm the Slayton Agent and force him to leave due to the fact that he is outnumbered, and outgunned.
Head To Slayton Aerospace HQ
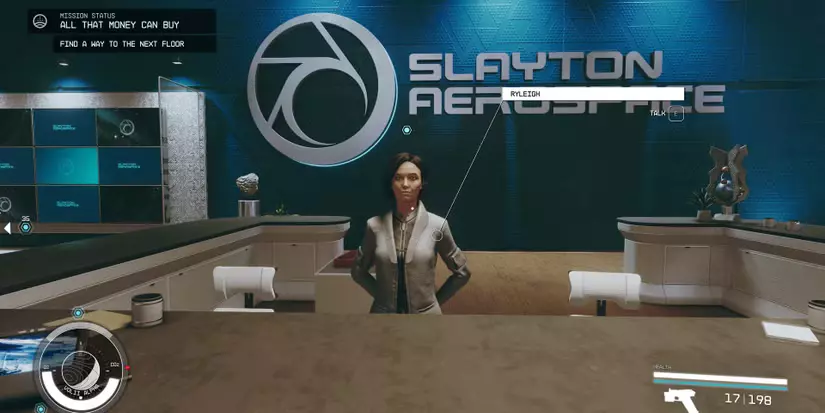
Issa interrupts this successful purchase of the Artifact to tell the player and Walter that their ship has been impounded, and there is a bounty on them thanks to Slayton. To fix things, players need to head to Slayton Aerospace HQ to try and smooth over the tension between Slayton and Walter. This location is found in the same elevator as Stroud-Ekland, just a few floors higher.
Now inside, players have a few ways of dealing with this:
With the second choice, Slayton has caught onto the player’s scheme and has stopped the elevator from going to the Executive Level. Luckily, Issa has security access, and can remotely access the doors, vents, and comms to help guide players through the upper floors and avoid hostile enemies that are lurking. It’s best that players listen to her instructions, run from vent to door when she says, and stop to let patrolling enemies pass when she mentions it, all so that they can reach the outside area and climb Trade Tower, which has a few enemies outside, but just follow the orange railing and players will be at the Executive Floor in no time.
Confront Slayton
The best thing to do with Musgrove is to let the authorities have him. This way, Musgrove gets to live and see justice, which will please most of the companions in Starfield as a good decision to make. It will always make Walter happy, as he doesn’t want an innocent man to die. In the same room, players find Musgrove, and they can find an Industrial Crate with some pretty great loot inside. Now that’s over, they can finally take the elevator down and head to the Spaceport Terminal to take the voyage home.
Leave Neon

Now that players can get their ship back, it’s time to head back out into space. Walter will ask the player about their venture, and the best way to answer is by saying he and his wife are cute together. This will flatter him, and cause the companion to like the comment. This will grant the rewards to conclude the quest with 10,000 Credits and the rare Fiscal Quarter Rifle at their disposal.
Copyright reserved. Unauthorized reproduction is prohibited.