


Among all the Main Quests in Starfield, Entangled is arguably the most horror-themed of them all. Exploring the destroyed lab in an alternative universe that’s filled with crawling enemies will definitely cause some chilly goosebumps.
Although Entangled is the 17th Main Quest, the mission is actually the last step of the Final Glimpses Quest in Starfield. After traveling to Hyetta III and picking up the distress signal, players are required to investigate it, and the answers are revealed in Entangled.
Entangled Walkthrough In Starfield
Upon landing on Hyetta III near the Nishina Research Station in Starfield, head up the stairs and speak with the intercom to be allowed inside. The Chief of Security, Ethan Hughes, welcomes players and guides them to the Director.
There are three possible endings for the Entangled Quest in Starfield. The first two depend on a choice players make, while the best ending requires some extra steps to follow. All the endings are explained below.
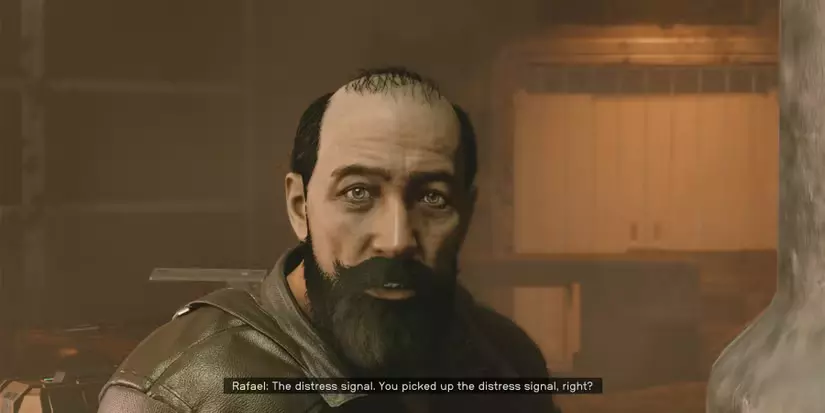
Speak with Rafael who turns out to be the one who sent the distress signal and was responsible for the accident that occurred. Sadly, the conversation is cut short as players return to Ethan who reveals the Director’s office location.
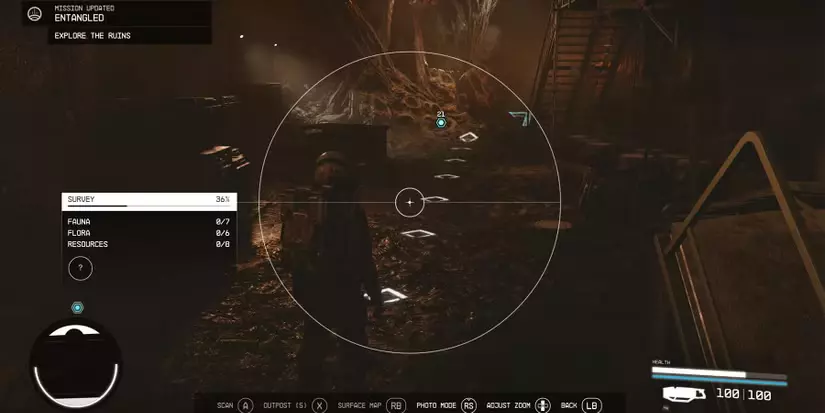
In this Quest, players will continuously bounce between the Ruins and the intact Station, so make sure to stay focused to avoid getting lost between all the warps.
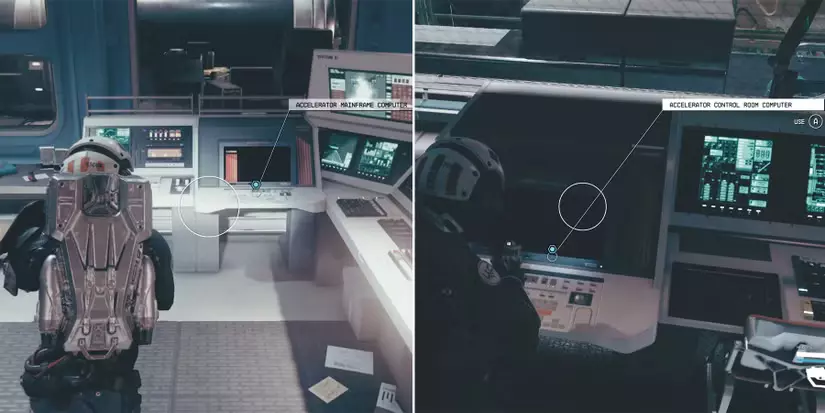
How To Reach The Director’s Office In Starfield
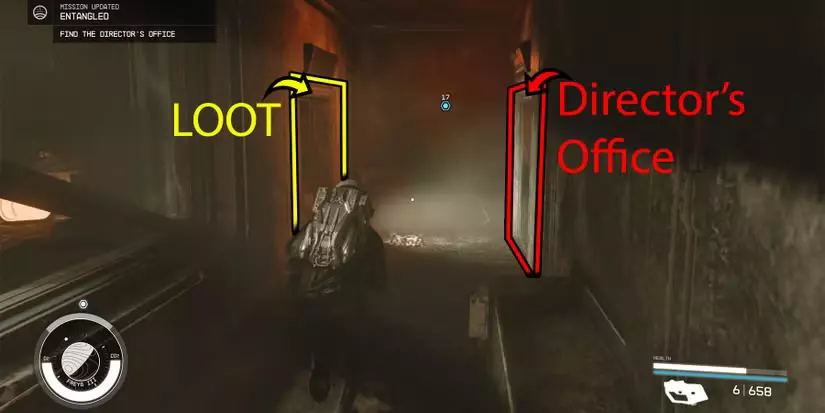
Next, follow Maria to the Fabrication Lab only to be thrown into the Ruins. Turn around and head right then left through the Emergency Door. Follow the Quest marker in Starfield to reunite with Rafael who offers the Nishina Pantry Keycard.
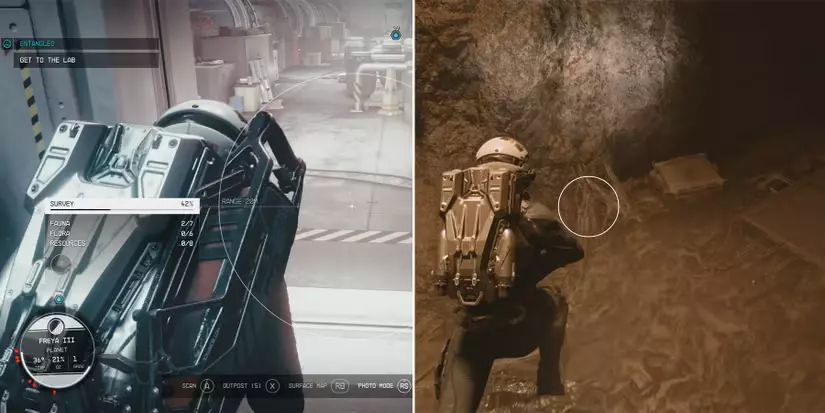
How To Get To The Lab In Starfield

Unlock the Pantry with the key to transport into the Station then get out to the Main Hall to return to the Ruins. Defeat the Cataxi and speak with Rafael again to learn how to get the Artifact. Proceed towards the destroyed office to warp back and bump into Ethan. Ask him how to reach the Fabrication Lab then mention the enemies by choosing the Scorpions option.
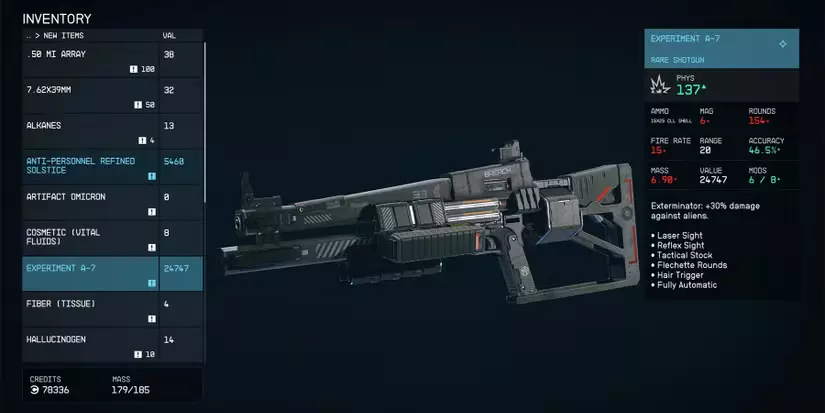
If players manage to Persuade Ethan, he will give them a Rare Shotgun called Experiment A-7, which has a 30% increased damage against Aliens.
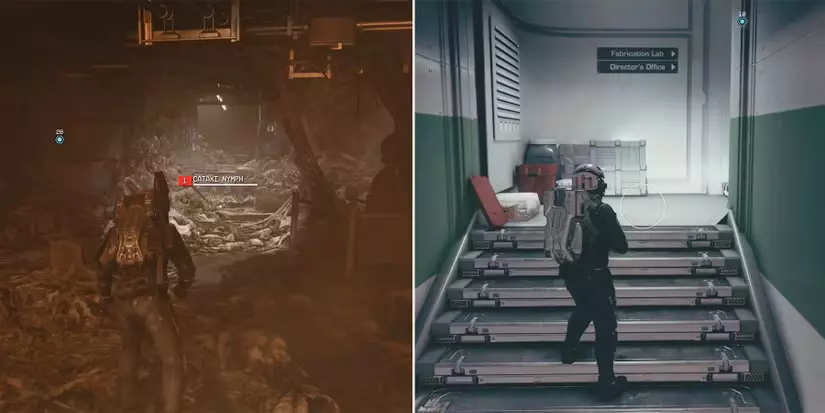
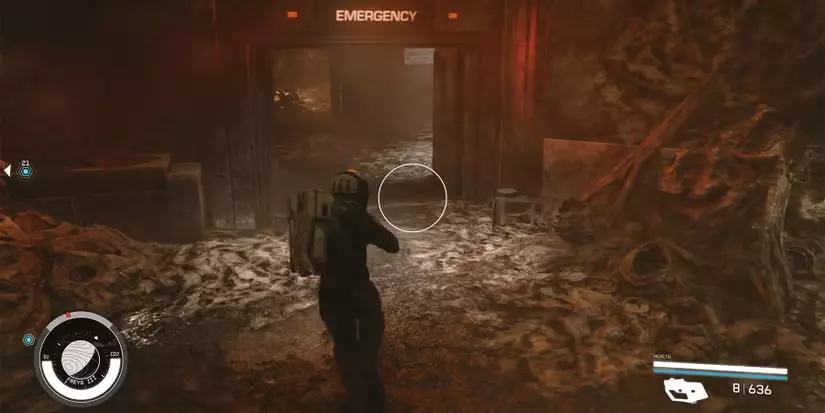
Head out of the office to the Main Hall to transport into the Ruins in Starfield. Kill all enemies and enter through the left door. Keep going until an Emergency Door appears. Climb the stairs to be thrown back into the Station next to the Fabrication Lab.
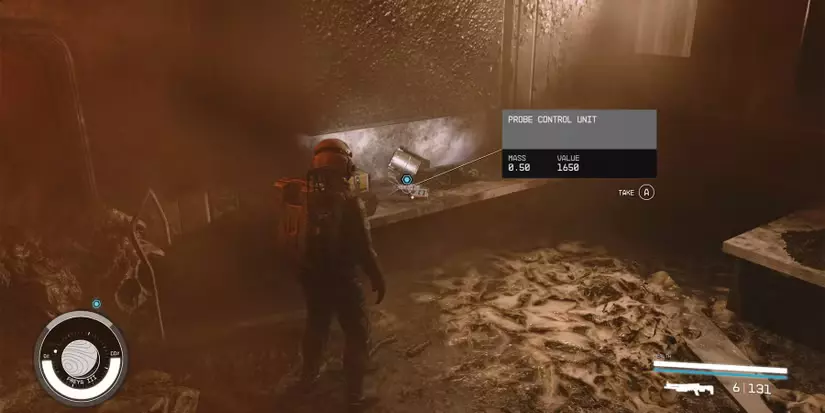
After completing a small experiment with Maria, players acquire a Probe Control Unit and are now able to shift in and out of the Ruins at will by using the various Distortions scattered around the Station.
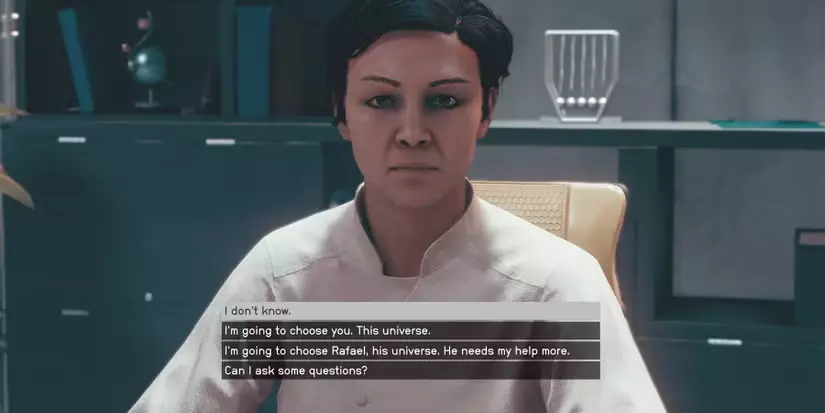
Return to the Director who reveals that an important decision must be made. Players don’t have to decide now as their actions in the final step will be the answer.
How To Override The Lockdown In The Facilities Section
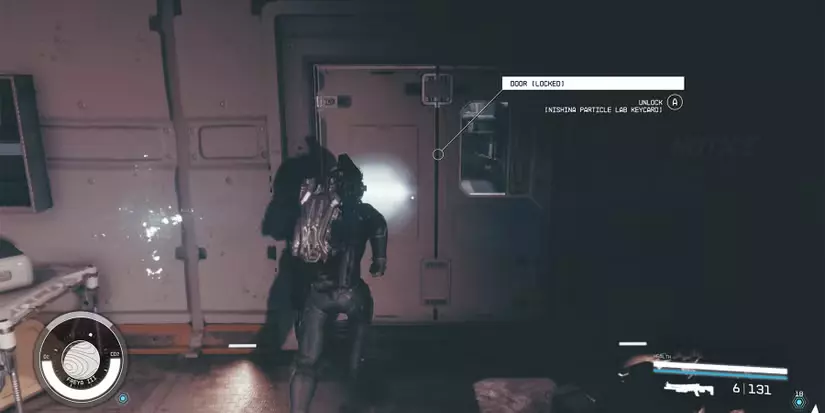
Upon arriving at the Ruins, use the elevator to go down, then interact with the Distortion to go back. Follow the Quest marker in Starfield until a locked white door appears. Head to the Ruins using the nearby Distortion and go inside to get the Nishina Practice Lab Keycard. Follow the marker and use the available Distortions accordingly until players reach a deeper part of the Station.
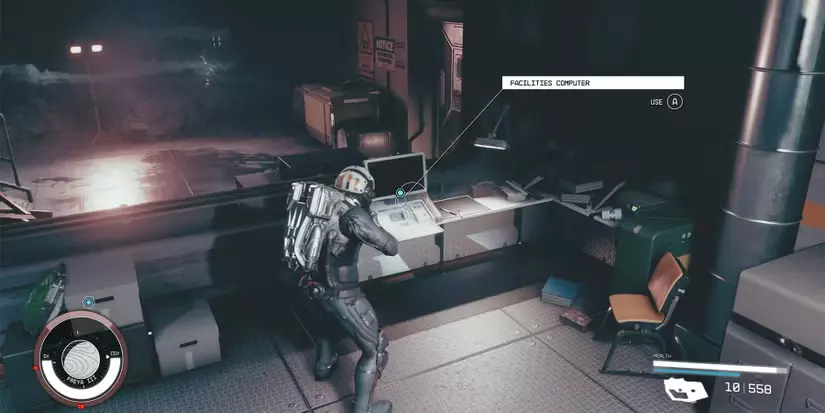
Go down the slopes and take care of the Robots and Turrets to use the Distortion situated in the only open room. Since the broken computer is useless in the Ruins, return to the normal Station and use the computer to Override the Lockdown in the Facilities Section.
How To Override The Lockdown In The Accelerator Section
After dealing with the enemies or running away, climb the stairs and head for the platform in the middle to use the Distortion. Go through the Emergency Door and jump down to get the Nishina Utility Closet Keycard. Return to the Station and climb the stairs to use another Distortion to travel to the Ruins.
Follow the marker and ignore the Distortion near the railing in favor of using the one across.
How To Override The Lockdown In The Storage Section
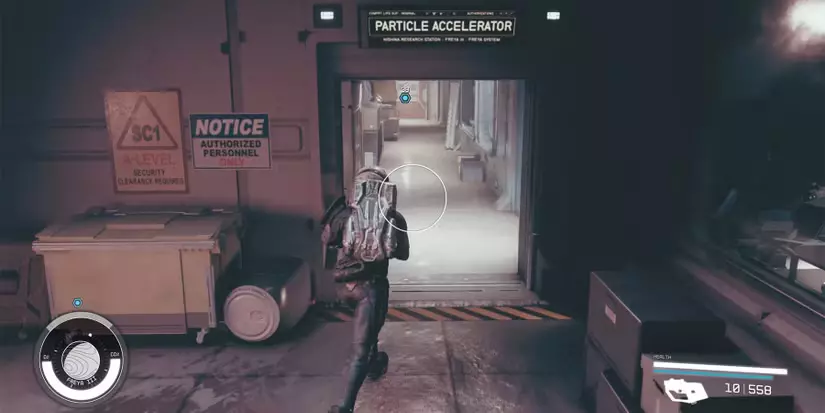
From the Accelerator Section, head to the Quest marker to enter Tunnel Access and use the Distortion inside. Go inside the cave and climb the slope at the end. Warp to the Station and head left to use the Distortion at the end of the room.
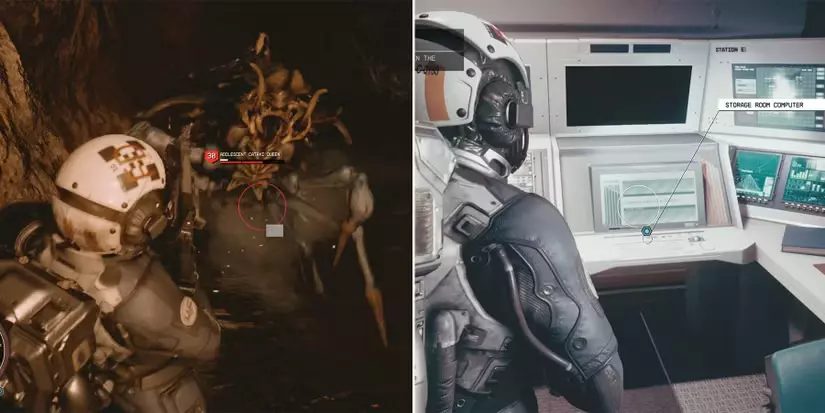
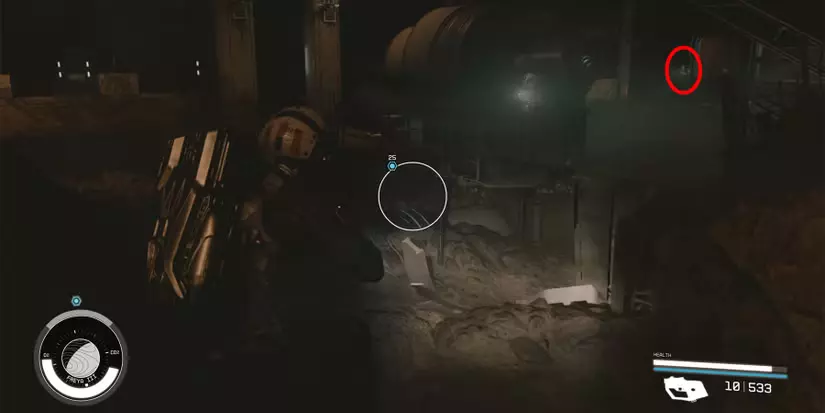
Proceed forward past the Cataxi enemies and climb another slope. Follow the Quest marker to the Distortion that allows players to use the computer inside the Storage Section to Override the Lockdown.
Next, follow the marker and travel to the Ruins upon seeing a staircase. Climb up and go through two Emergency Doors to reach the final area. Here, players must make a decision before proceeding.
Should You Disengage Power Interlocks Or Switch Universes

Upon being given the choice, players must pick carefully which universe they wish to save as each one yields a different ending.
| Choices | Consequences |
|---|---|
| Disengage the Power Interlocks in the Ruins (Alternative Universe) |
|
| Disengage the Power Interlocks in the Station |
|
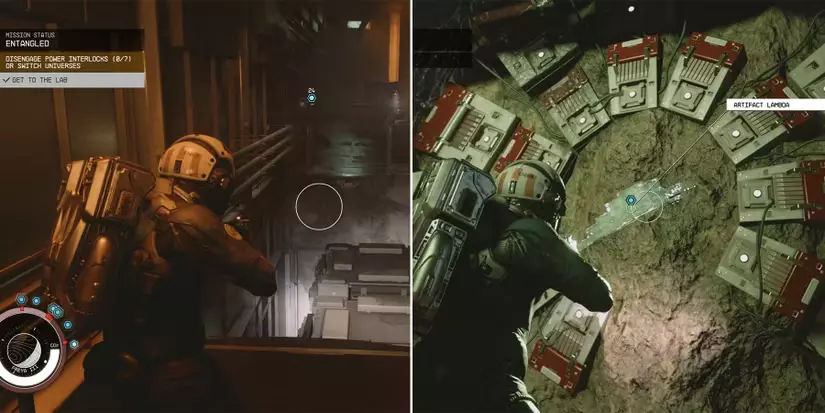
To get the Artifact, people must disengage the seven marked power interlocks scattered around their desired reality. After that, shut down the probe to get the Artifact, and the Entangled Quest is completed.
How To Save Both Realities In Entangled Quest
To save both realities in Starfield, players must follow a series of steps mentioned on a Slate. First, head to Rafael’s body in the Station and take the Probe Calibration Protocol Slate to read the steps.
- Go to the Ruins and climb the stairs next to Rafael’s body to reach the computer room.
- Use the Lab Control Computer to start the Degaussing process in the Ruins.
- The computer will give random Power Interlocks numbers, and players must find them and turn the indicated Power Interlocks on then off to degauss them. In this case, the numbers are 3 and 7.
- Head back to the computer to make sure that the Degaussing is complete, then travel to the Station.
- Interact with the computer to start another Degaussing process by turning on and off the given Power Interlocks numbers. In this case, the numbers are 4 and 6.
- Make sure the Degaussing process is complete on the computer.
- Enter the Frequency Calibration settings and change it to 40 GHZ.
- Warp to the Ruins and set the Frequency to 24 GHZ.
- Sprint to the Artifact and activate the Primary Calibration.
- Travel to the Station from the nearby Distortion to also activate the Primary Calibration.
After all that hard work, both realities will merge together, saving both Rafael and the Station Scientists.
Copyright reserved. Unauthorized reproduction is prohibited.